
Material Menu
Includes all the functions needed for material application, and materials management. Check this tutorial for more about material management.

Scene Group
Manage Scene Materials
Scene Materials dialog includes the material functions shown in the image below. It shows all materials in the scene where the user can make changes to all of them at once.
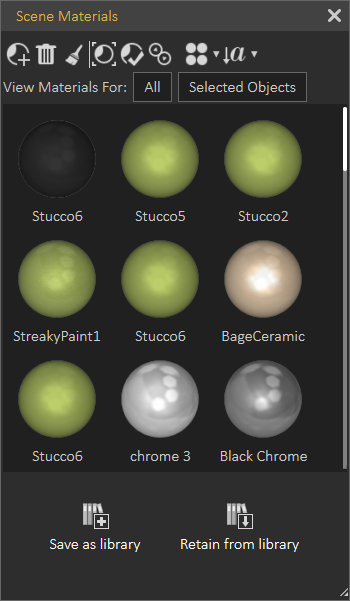
- Add Material: Adds a new default material to the list. The new material with all of its properties will be shown in the Properties Panel of the application Interface.
- Delete Material: Deletes the selected material, from the list. In case the material is being used by objects in the scene, a dialog will appear asking the user to select a replacement material before the deletion.
- Delete Unused Materials: Deletes all materials not referenced by any object in the scene.
- Select Objects Using Material: This function selects all objects, in the scene using the selected material in the Scene Materials dialog. These objects-geometry will be highlighted in the Scene Browser, and in the 3D area.
- Apply Material To Selected Objects: To use this function the user should select object(s) first, then select a material from the Scene Materials dialog or the from the Material Library. After that he can click this function button and the selected material will be applied to the selected objects.
- Merge Identical Materials: In cases where more than one object in the 3D scene are using the same material, different copies of that material will appear in the Scene Materials window. This function cleans the materials dialog from unnecessary duplicates.
- Change View: This display option is available for the user to change the way the materials are displayed, in the Scene Materials dialog. They can be displayed as Large, or Small icons, or can be shown as a list.
- Sort by Name/Sort by Attributes: Two options for sorting the Scene Materials are available for the user.
Save as Library
After applying all materials for all geometry in a 3D scene, clicking this function will display the New Material Library window. In this window the user can input a name for the new library then click Ok. This will save the applied scene materials in a library, and it will be shown in the Current Library combo-box, and in the Manage Material Libraries panel.
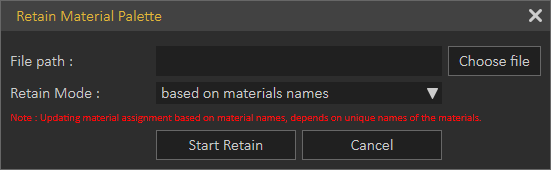
Retain from Library
Before clicking this function button, the user should select the material library to use, in the Current Library combo-box. This function will reapply materials included in the selected library to the different geometry based on previously assigned materials names.
Merge Identical Materials
Cleans Scene Materials dialog from unnecessary duplicates.
Material Palette Group
Save Material Palette
Material palette is a useful feature that SimLab Composer provides, it can save materials progress in a separate external file that can be re-applied easily.
From the material menu select Save Material Palette. Set the path and name for the file and click Save.
Reopen CAD Software and load the saved file, then from the extension menu, go to SimLab Composer integration and select Link with SimLab Composer.
As you can see the materials and textures applied in SimLab Composer, are the same materials applied in CAD Software.
Retain Material Palette
This function allows the user to keep applied materials in SimLab Composer to the design. Not having this option toggled will re-import the original materials from CAD Software to the design.
Select the palette file that you previously save, and set the mode to material name
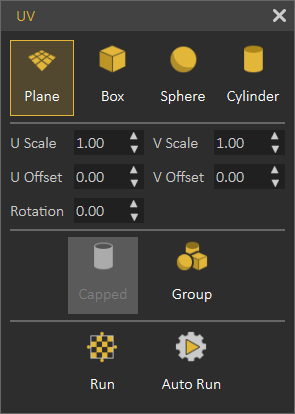
UV
Texturing is the process of applying an image to 3D object, to give it a more realistic look. Texture Coordinate menu gives the user different options to define the way the image is applied to an object.
No Comments