
Properties Panel
When selecting an object or entity in the scene the Properties Panel appears in the right side of the application showing its properties.
Objects are shown in the Scene Browser, they are part of the model tree is the Scene Browser. An object can be selected by clicking on it in the 3D Area or by selecting it from the Scene Browser.
Properties Panel, may have two tabs or more depending on the object type.
When selecting a part of an assembly object (not the end leaf in the tree) Properties Panel usually shows two tabs as shown in the following image

those tabs are Object Tab, and Transform Tab
Object Tab
Object Tab includes functionality that can be applied to any object in the scene. This includes: Copy Object, Create Instance, Isolate, Hide/Show, Freeze/Unfreeze, in addition to changing the name of an object.
The described functionality is available in the top of the Object Tab 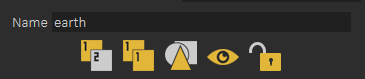
Object Actions
Object Tab also includes Object Actions, which is a simple way of defining what to do if the user clicks on the object in the VR Experience.
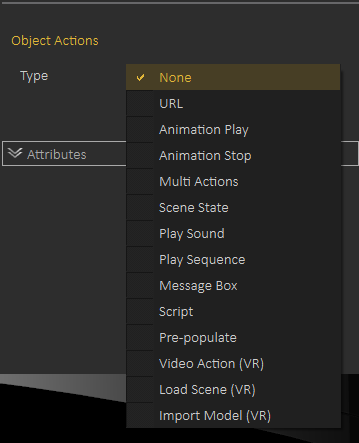
Object Actions can be one of the following
1- Open URL
2- Play/Stop Animation
3- Multi Action (you can assign multiple actions to be executed when the object is clicked)
4- Apply Scene State
5- Play Sound (thought it is better to use SimLab Composer Sound object)
6- Play Sequence
7- Show Message Box
8- Video Action
9- Load Scene
10- Import Model
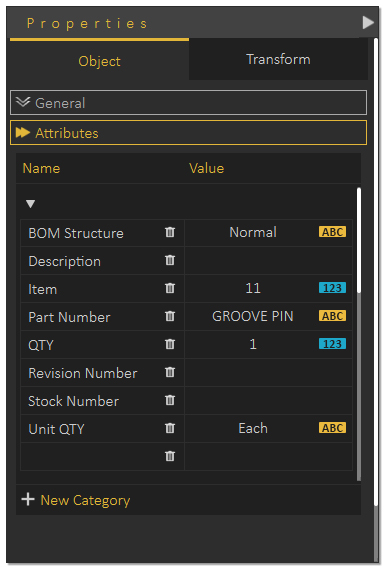
Attributes Panel
Attributes Panel shows attributes assigned to the object. Attributes can be imported when importing the 3D model, or created using Attribute Panel or the Attribute Manager (which is accessible in the Scene Browser)
The following tutorial shows how the user can utilize attributes in VR Experiences
Transform Tab
Allows the user to view/modify local and global location, orientation and scale of the object and its pivot.

Extra Tabs
Based on the object type, additional tabs may be added to the Properties Panel, for example if user selected a leaf object (3D object) the Material Properties tab is added, as shown in the following image:
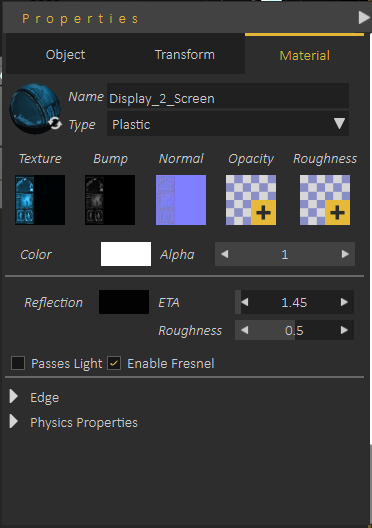
The following video borrowed from SimLab Composer shows a detailed tour for the Material Properties tab:
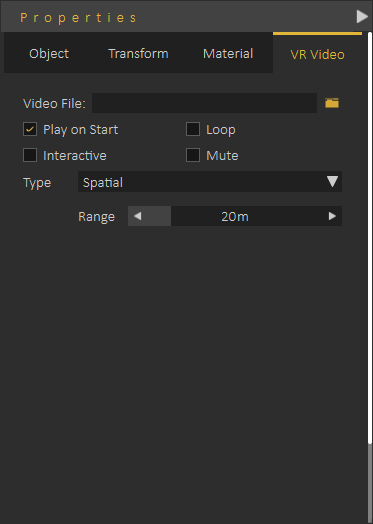
Effects like VR Fire, VR Smoke, VR Showers, VR Video, VR Sound and others will add an additional VR or VR properties tab, allowing the user to set specific properties for the selected object, the following image shows the new VR Video property tab added when selecting a VR Video:
Entity Panel
When the user clicks ESC (to make sure no object is selected) the user can go to the library and click on a sequence, a scene state or a key in the animation timeline to view its properties in the Properties Panel
Sequence Properties
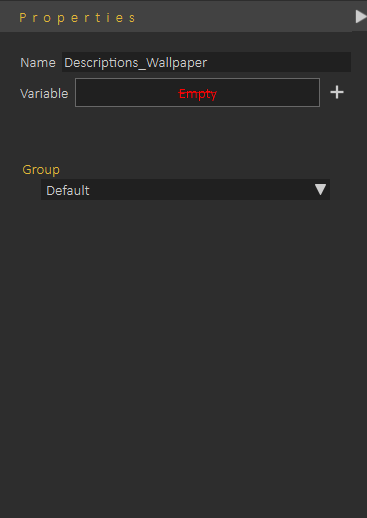
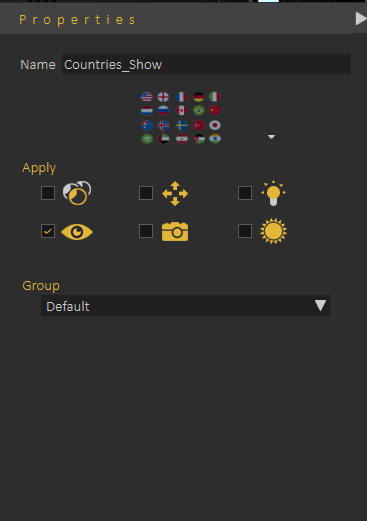
Scene State Properties
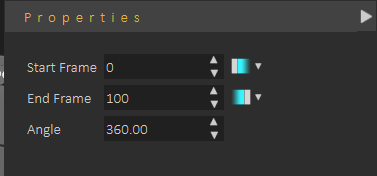
Key Frame Properties
Environment Properties
By clicking on Environment (always the top element in Object Browser) , the Properties Panel will the Environment Properties
Environment properties include the following tabs:
- HDR
- Sun
- Background
- VR
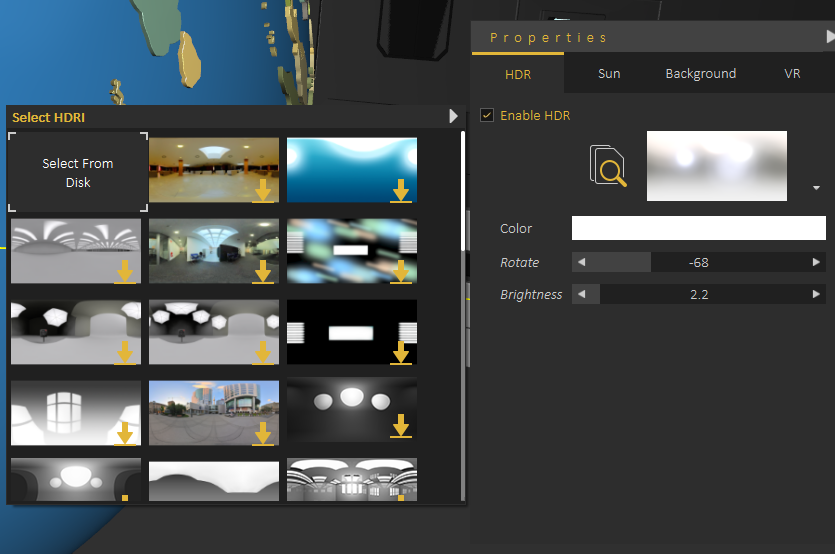
HDR Tab
This tab allows the user to select the environment image used to light the scene, also it allows user to control its power, orientation and brightness.
"Auto Adjust HRD Brightness (VR)" will put a limit on the brightness of the HDR when running the VR Experience on the Viewer, if you want to have high brightness for the Viewer, you should disable this setting.
Sun Tab
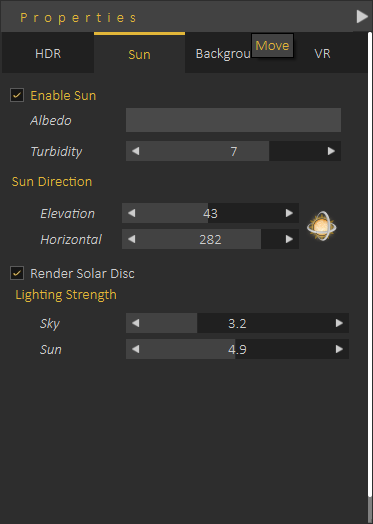
Sun tab allows the user to enable/disable the sun effect, and to control the sun/sky powers in the scene.
It also allows the user to set initial sun location in the scene.
Background Tab
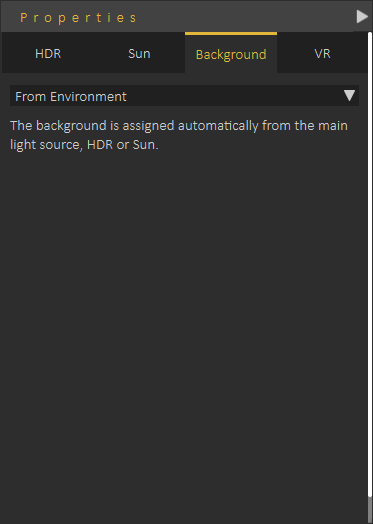
This tabs allows the user to select background to be used for the VR scene, it can be from environment (HDR , or Sun) or the user can select a background image or color to be used as a background
VR Tab
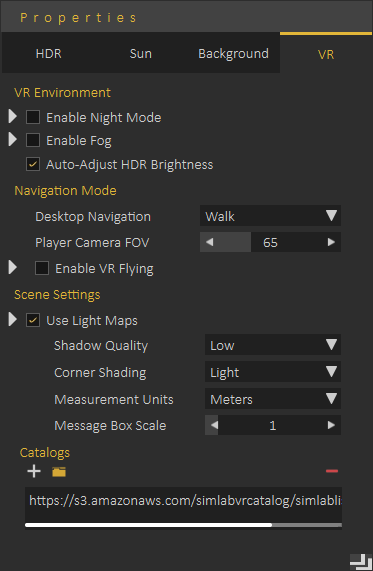
VR Tab allows user to control the created VR Experience, the user can control the Environment, Navigation mode, Scene Settings, and to decide to make VR Catalog(s) available in the VR Experience.
We will explain some settings which may not have a clear meaning:
Under the VR tab, let's clarify the following settings:
"Enable VR flying": Since users can't switch between navigation modes while running experiences in VR mode, this is the setting to make the VR Experience run with flying navigation mode On.
"Use Light Maps": Allows you to use baked lighting, either created in SimLab Composer or imported with the model. Light maps simulate lighting effects without requiring real-time calculations, reducing performance demands and ensuring a smoother VR Experience, especially on lower-end devices.
"Multiple lights on Standalone Devices": This affects artificial lights (lights that you add from the "Create" menu), it will enable or disable them when specifically running them on standalone devices, since these lights can heavily affect the performance on them.
"Enable Highlights": This will enable/ disable the highlights that you see on objects that you can interact with or grab.
"Accurate Physics": If you have physics in you experience, this will increase the accuracy by making more calculations for the simulation of physics, but with a cost on performance.
"Adding Catalogs": Catalogs are specialized asset collections that can be created in SimLab Composer and uploaded online for easy access. This feature allows you to link external assets to a scene, enabling users to import them dynamically during the VR Experience runtime. Unlike standard assets, catalogs can be stored and retrieved from an online repository, making them accessible across multiple projects and devices.
No Comments