
File Menu
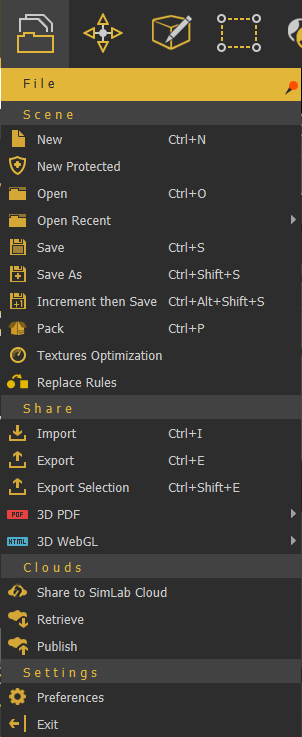
Scene Group
New/New Protected
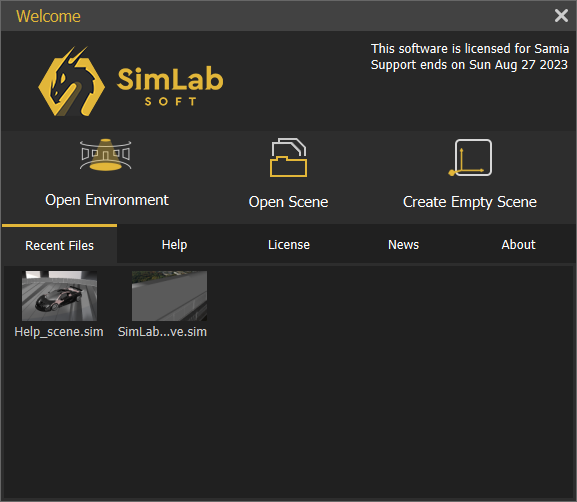
Clears the current scene, then displays Welcome (new scene dialog), where the user can select to open a ready-to-use environment, open a scene, or create an empty one.
Images for the last opened scenes are displayed under the Recent Files tab for quick access.
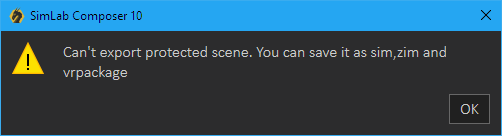
New Protected option is the same as creating a new scene, except that this scenes can only be saved as sim, zim, or VRpackage. If the user attempts to export it into any of the available formats, the below message will appear. This is done to protect users' property 3D models from being used by others.
Open/Open Recent
Open will open "Open VR Studio file" dialog, where the user can browse to a *.sim or *.zim file to open. The Open Recent on the other hand will show a list of the last few *.sim or *.zim files that were opened.
Save/Save As
Opens Save VR Studio file dialog, where the user can select the name and location for the created *.sim or*.zim file format
Note: Sim file (*.sim) is the native file format for VR Studio. It stores the scene, but it does not include contents it references in the disk space. For moving files between machines it is better to save the scene as Zipped Sim File (*.zim), which collects all needed resources (textures, sounds, thumbnails, and other resources) and saves them in a single file that can be passed between machines as it is contains all what is needed.
Sim and Zim files are compatible between SimLab VR Studio and SimLab Composer in case you need to open a file for rendering, or using any other feature from SimLab Composer. Models can be moved in (*.zim) format and both VR Studio and SimLab Composer should be of the same version.
Increment then Save
This feature (with shortcut Ctrl+Alt+Shift+S) will save new increments for the same (*.sim) file. These increment files can be helpful in undoing a feature in a complicated scene after some time. So the user can go back to the file before the feature was added and continue from there, in other words, creating lots of backup saves in case something wrong happens.

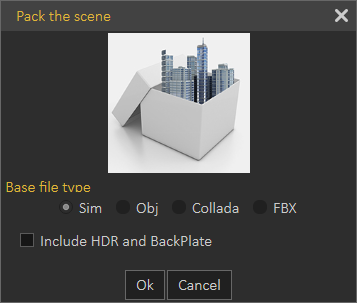
Pack
In addition to *.zim you can use pack the scene to pack the model and its textures in one zip file. Supported formats to be used for Packing include OBJ, Collada, and FBX. This is used usually to move files to other applications on other machines.
Scene Optimization
In VR and especially when using stand-alone devices like Quest, Pico, Android, or iOS, it is important to make sure you are not consuming a large amount of memory for textures on those devices to have a smooth VR Experience.
This option contains option for the optimization on 3D objects, texture or lights objects in the scene all in one dialog, the following video will explain the content of this dialog:
The dialog can also be accessed from Show in Viewer dialog, under the VR Viewer menu.
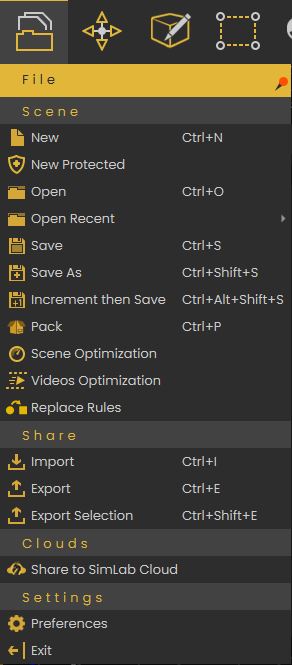
Replace Rules
Replace rules makes it easy to replace geometries in the imported file with new entities. For example you can replace a simple cube geometry named "fire" with VR Fire effect. It also supports replacing material types, for example each material that includes plastic in its name can be automatically converted to a plastic material.
This tool is usually used by 3D designers, where they do not need to repeat tasks in VR Studio when moving their models.

Share Group
Import/Export
Opens the corresponding Import/Export Geometry dialog. The import function enables the user to build scenes of 3D models from different file formats. The export function, on the other hand, enables the user to share the created 3D scenes with others in different file formats.
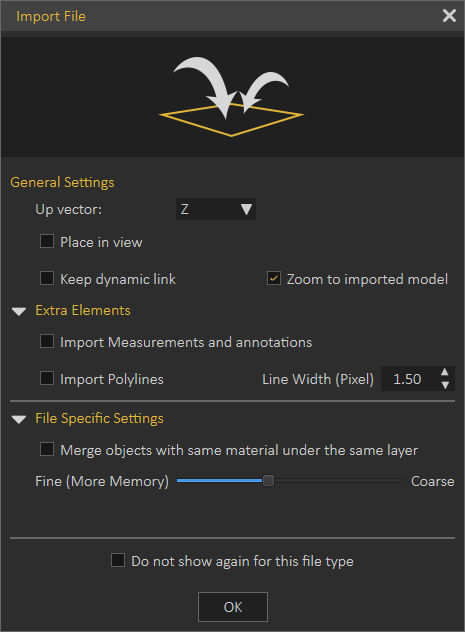
In the Import Geometry dialog, the user can browse to 3D geometry to import. Clicking Open displays the Import File dialog, where the user can set different options for 3D import. General Settings include Up vector, Z axis is selected by default. The user can choose a different axis depending on the design of the imported 3D geometry.
Place in view, places the import geometry in the current view, rather than the center of the scene. Keep dynamic link, when checked keeps 3D geometry linked and automatically updates to any changes in the home CAD application.
Zoom to imported model, imports the object to the center of the scene and zooms the camera to it.
Import Measurement and annotations, will import these elements with the 3D geometry.
The Import File dialog will have more elements depending on the imported file format. The image on the left below, is for 3D PDF file import, while the one on the right is for DWG file import.
|
|
 |

Export function will open the Export Geometry dialog, and will enable the user to export the 3D model to any of the supported file formats. For a list of supported Import/Export file formats, visit this page.
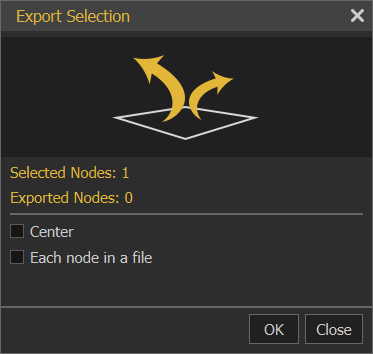
Export Selection
The user can select specific nodes/objects from the scene to be exported. The objects will be exported to the specified folder with their names in the Objects Tree.
 |
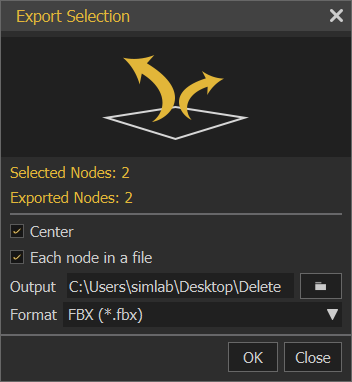 |
Export Selection can be used to export a single part from the 3D scene or to create a VR Catalog, from the exported selections *.vrpackage(s). Creating VR Catalogs is a feature in SimLab Composer Ultimate edition. The following video shows export selection in action:
Clouds Group
Share to SimLab Cloud
This function enables users to share their 3D scenes as VR Package on SimLab Cloud. When selecting this option the Login dialog will appear, where the user can Sign Up/Sign in.
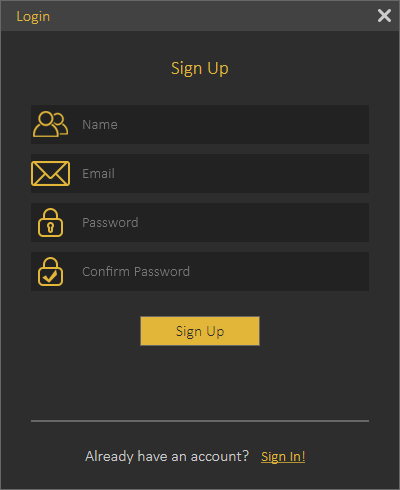
Once the user logs in, the Cloud Sharing dialog will appear, allowing the user to share created 3D scenes with full features as VR Package. Full features mean all created animation, scene states, actions and more. By default, a user will start with a trial sharing space of 2 GB valid for 3 months.
|
|
|
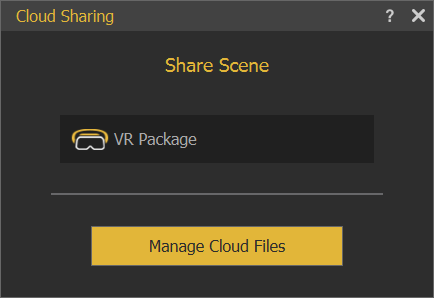

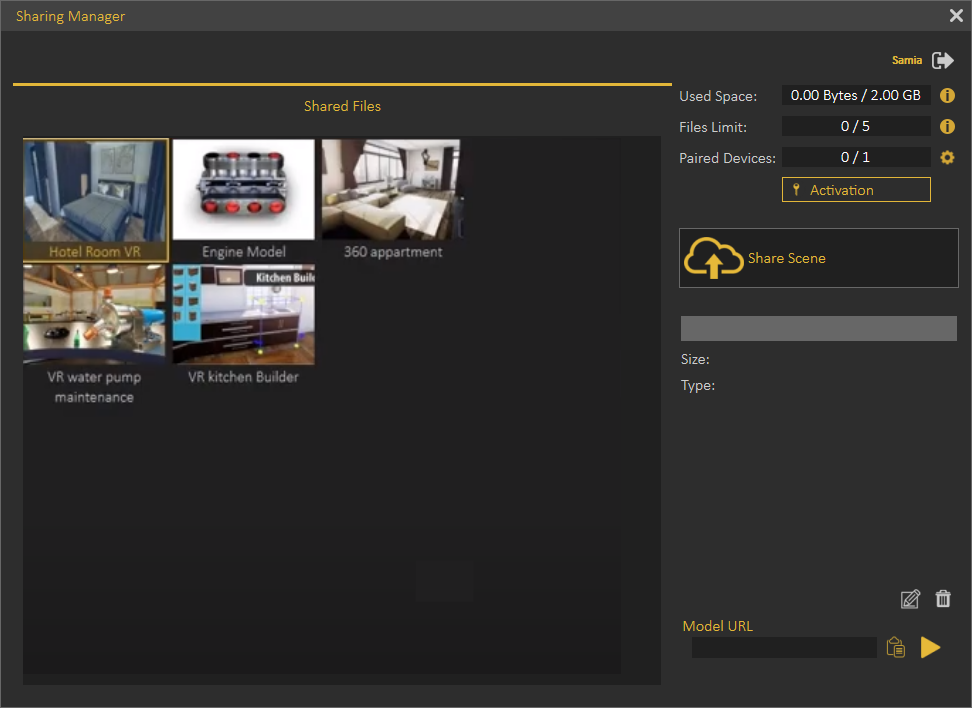
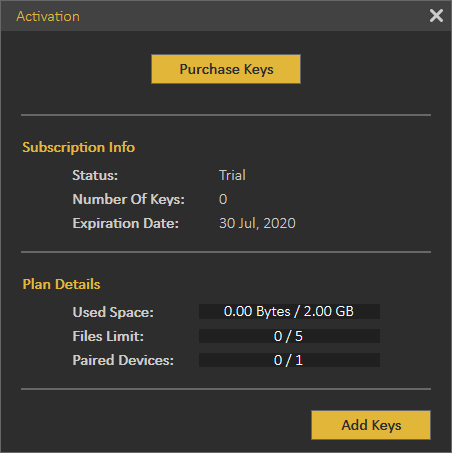
A user can manage uploaded files by clicking the Manage Cloud Files button in the Cloud Sharing dialog, which will open the Sharing Manager dialog. As the sharing period or space are expired, a user can purchase SimLab sharing keys. To learn more about sharing methods and capabilities please refer to this video tutorial (Share VR Package section ONLY).
Settings
Preferences
Common settings for 3D scenes can be adjusted once in the Preferences dialog.
Appearance Tab
In this tab the user can set the preferred appearance options in SimLab VR Studio, including:
Language and font: The user can select the language and the font style to be used in SimLab VR Studio from the supported languages combo box, and available fonts list. Changing the language, and font takes effect next time SimLab VR Studio runs.
Style: Change the transparency for the Objects Tree, and set appearance for 3D area. The 3D area appearance can be set as color, or background image.

Show Objects Quick Access Toolbar: shows the Quick Access Toolbar for ease of access for its objects functionalities.
Generate material preview images: generates preview images to the scene materials in the Scene Materials dialog.
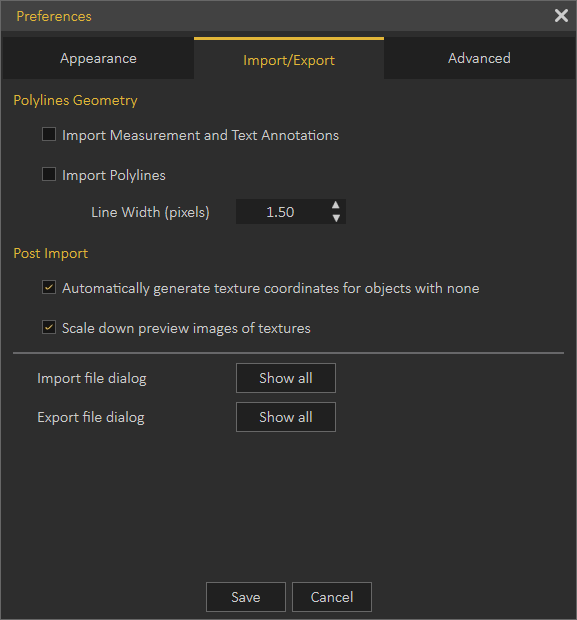
Import/Export Tab
Import measurements and text annotations: The user can select to import measurement and text annotations created in the design CAD package.
Import polylines can also be checked, and the width of the imported lines can be specified.
Automatically generate texture coordinates: Texture coordinates for the imported geometry will be automatically generated when this option is checked.
Scale down preview images of textures: Reduces the size of textures images for improving interactivity.
Import/Export File dialog is shown by default. So every time the user imports or exports models/ scenes the dialogs will appear.
If "Do not show again for this file type" option in the dialog is checked, the user can click the "Show all" option and that will reset the dialogs to show for all.

Advanced Tab

Annotation Settings group: the user can select to let SimLab VR Studio auto set the size of the annotations, or set its Default Size. Measurement Units, and its Precision can also be set here.
Camera Settings group: has two options Keep Above Ground; stops the camera rotation at the ground level, and will not go below, and it is applicable to Parallel and Perspective cameras.
Two Sided Lighting: when checked will draw faces twice so it is always visible, it may give better visualization, but it is recommended to uncheck this option for large scenes.
Directories Settings group: the user may select to move the User Data directory to a new location, the user should copy the original data to the new location before setting the new User Data folder.
Reset Composer data button: will reset the composer data to its original settings.
Flying Mode Settings group: it allows the user to adjust flying and rotation speed while navigation inside VR Studio, when using the keyboard keys for moving and mouse for looking around.
Backup Tab
Auto-Save option with its attributes is in this tab. The user can enable this option here and set its properties shown in the image below:
In the image below Enable Auto-Save is checked with a certain notification time. Action countdown until saving is the start time the countdown will appear as shown below. The notification position is set to the Right bottom corner.

Singular and Incremental Auto-Save modes: Singular keeps only one independent auto-saved file located next to the scene file. Incremental on the other hand keeps independent auto-saved files located next to the scene file.
Exit
Will display the Save File dialog for the user to save the current scene before exiting the application.
No Comments