Automation Workbench
Introduction
- Command line (for batch processing a large number of files). This includes command line without scripting using -ie command, and with scripting using Python, and Java scripts.
- Interactive mode (from inside the GUI of SimLab Composer)

Scripting is supported in the Ultimate edition of SimLab Composer
Command line without scripting
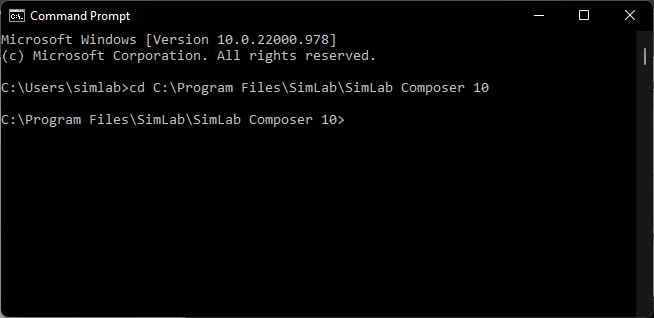
-ie "C:\Users\simlab\Desktop\Delete\RubikCube.obj" "C:\Users\simlab\Desktop\Delete\RubikCube.skp"
Check this article for more ab out the command line-based methods, also for commands on Mac.
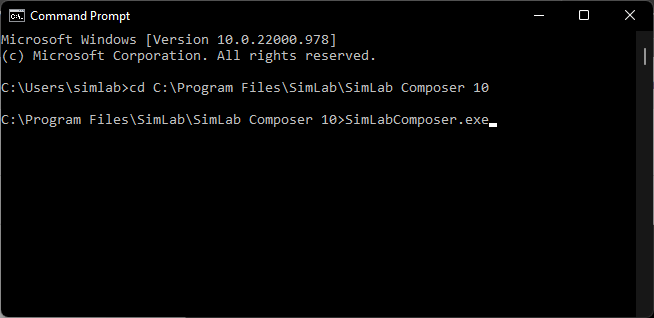
Command line Python Scripts
SimLabComposer.exe -py “File.py”SimLabComposer.exe -py “C:\Scripts\example.py”Passing arguments to Python Scripts
Passing arguments to a script makes it dynamic, and reusable without the need to change its code.
scene =Scene()
runtime =RunTime()
scene.reset()
fileName= runtime.args.getAsString("-path")
scene.importFile(fileName)
Interactive Scripting - Running Python script interactively
The user can run Python Scripts interactively in different ways:
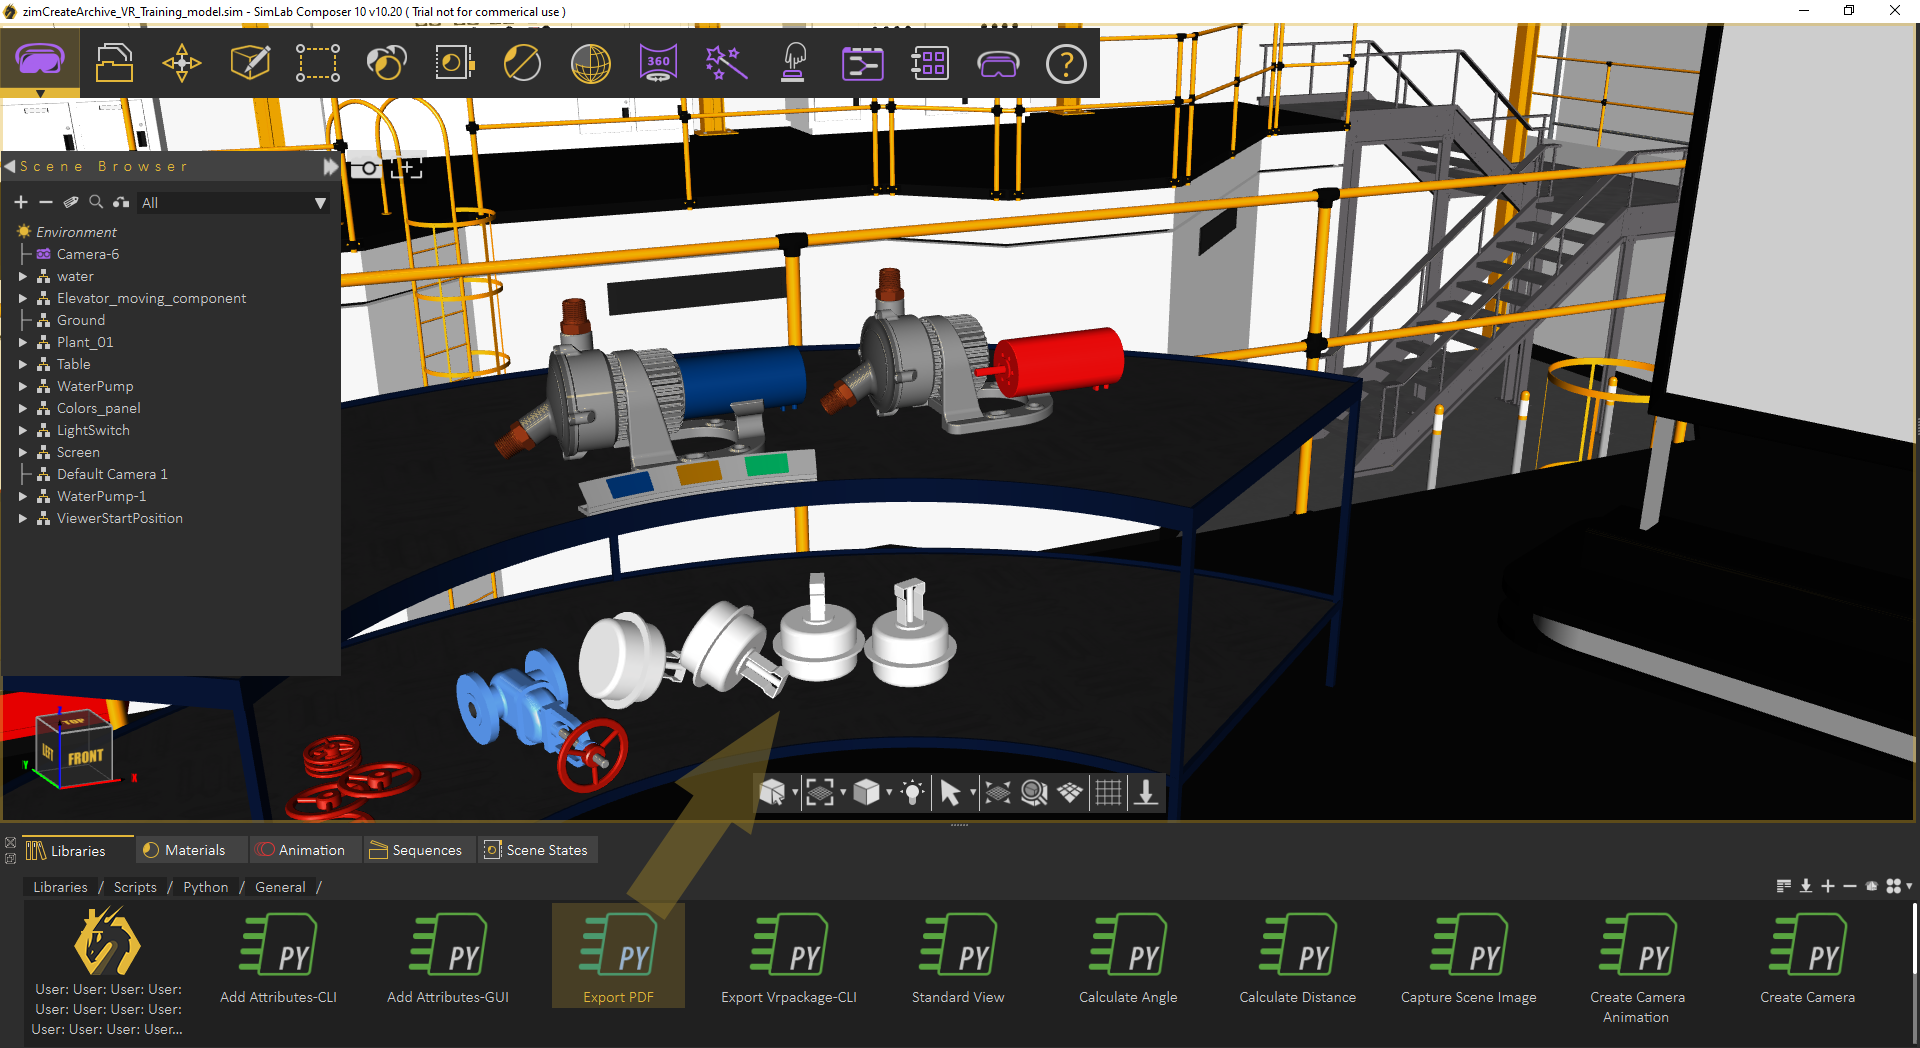
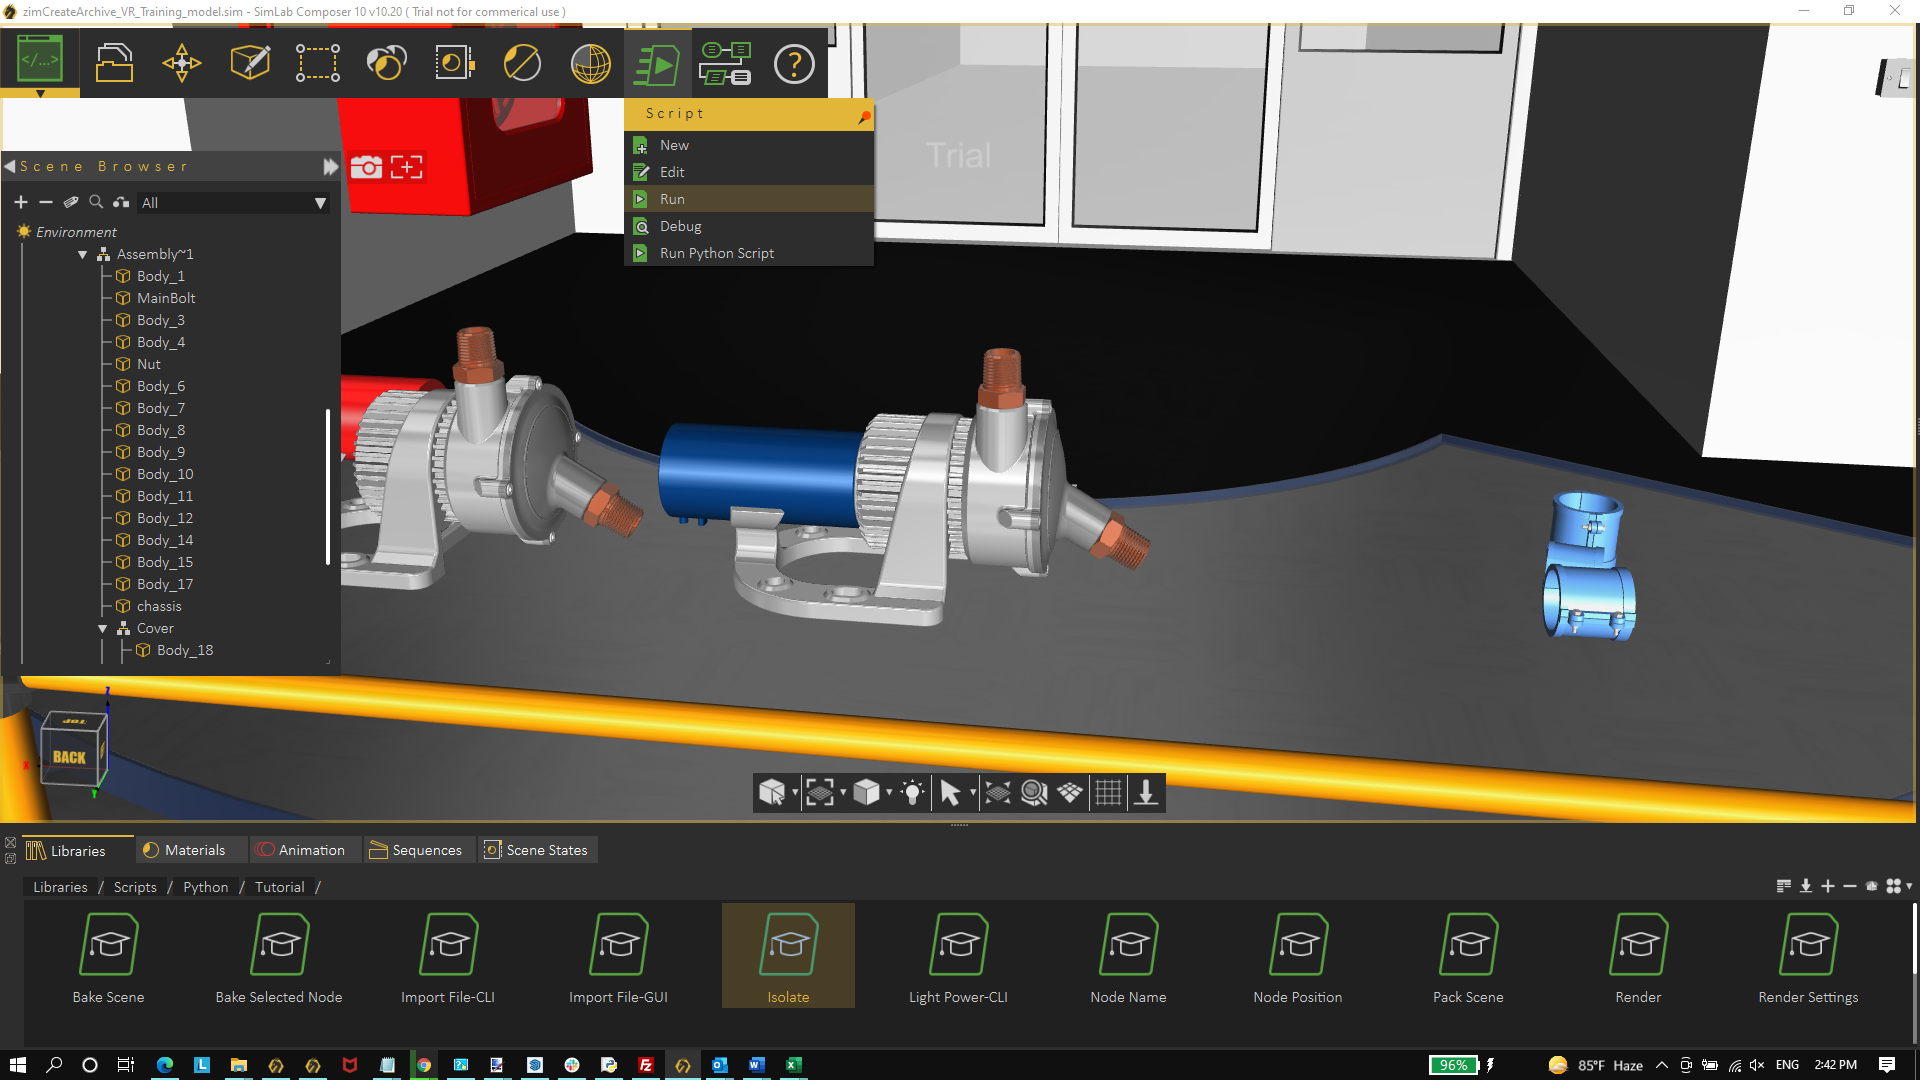
- Select a script from the scripting library, drag it, and drop it on the 3D area

- Select a script from the library, then from the Script menu, click Run

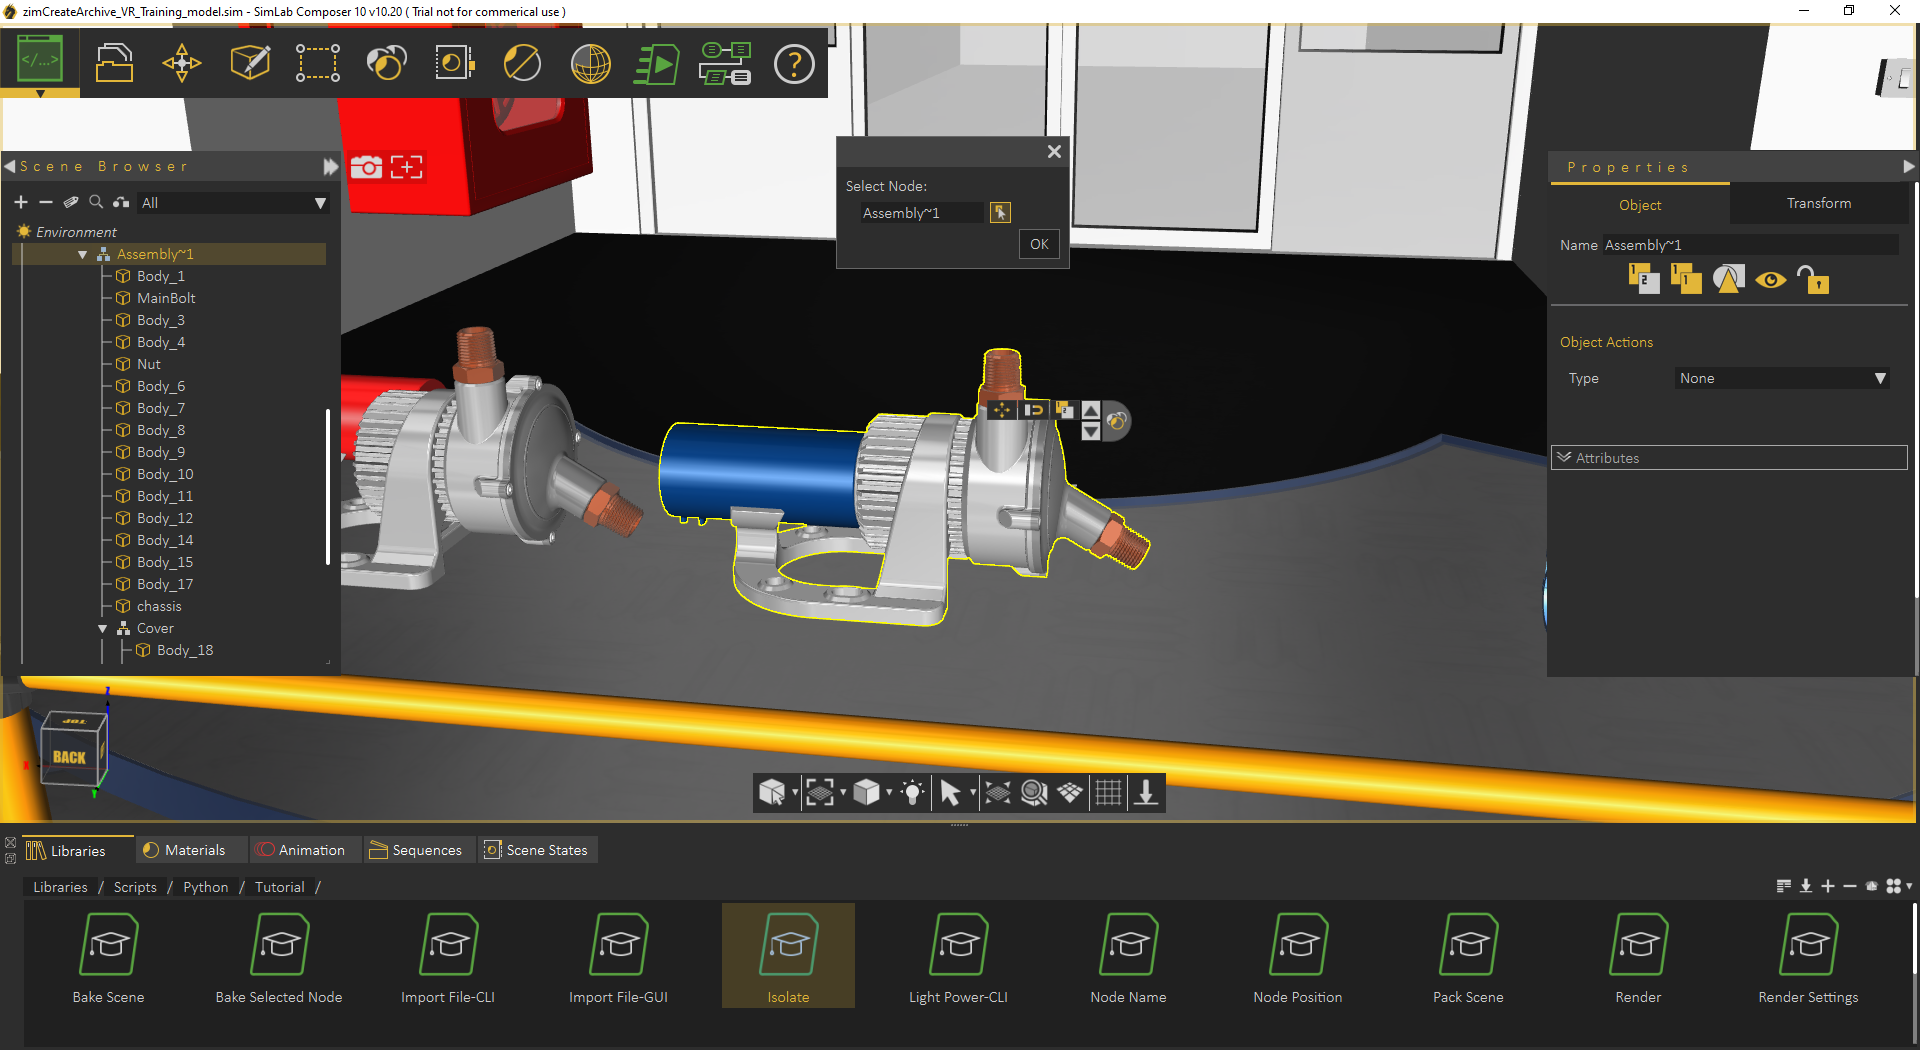
- Select the node/geometry to Isolate from the 3D area or the Object Tree, then click OK.

My first Python script / Python Scripts using GUI input
The following script gets the location to save the rendered image, using a GUI dialog. Renders the current scene, saves the resulting image in the selected location, and finally displays a dialog indicating that rendering is done.
from simlabpy import *

scene = Scene()
runtime = RunTime()
render_path = runtime.ui.getSaveFileName("Exported rendered image location:", "", "*.jpg;;*.png")
scene.render(render_path)
runtime.ui.alert("Rendered image was created.")
For a list of supported Python scripting commands visit this page
Check out a blog about the approaches to automatically do things with SimLab Composer.

Visual Scripting
Visual Scripting in SimLab Composer is a tool created to minimize the programming effort for non-technical users with no coding skills. Therefore, instead of writing the computer code in a text editor, the Visual Scripting tool allows the user to develop her\his desired programs via block diagrams using a graphical user interface. This makes the code easier to be written as well as to be understoodز Any designer, artist, or animator reading the diagrams can quickly grasp the flow of logic therein.
Getting Started
Select Visual Scripting from the automation workbench, the window shown below will appear with the following main parts:
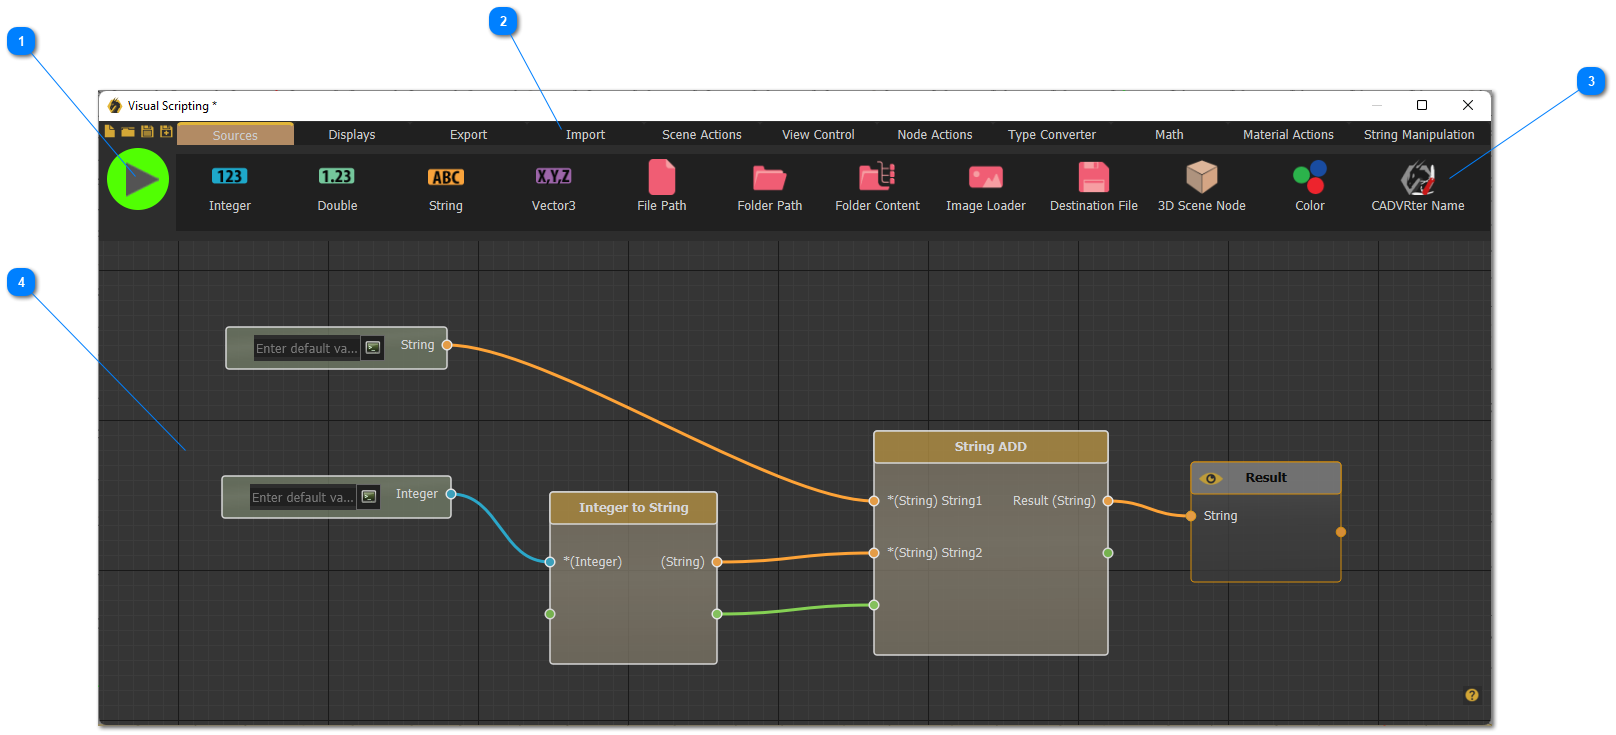
Any flow in the Visual Scripting should consist of three main components: source, smart block, and connections.
A) Source: Sources are used to define file paths and/or 3D nodes to be used as inputs for different blocks in the diagram. Users can find several source types in the sources tab.
B) Block: Blocks are basically functions that (can) take inputs and produce outputs. Each block performs a single process, for example, the block on the left side in the previous figure takes an integer number as input and converts it to a string as an output. Users can find several block types categorized into different tabs throughout the Main Object Groups Bar.
C) Connections: Connections are used to make the whole flowchart meaningful by linking sources and blocks. They thus define which sources and blocks are connected, accordingly, they arrange the execution order of the block diagram. The green parts on the blocks are not essential but they are very important to ensure the right execution order and to create dependencies between the blocks. To make the process easier for users. Ports on each block are colored based on the data type that should be passed through them.
After completing the flow diagram, hit the run button to start the execution, and a pop-up message will appear once the execution completes. Flowcharts can be saved and shared to be used in different projects.
To learn more about Visual Scripting in SimLab Composer, check the tutorial below, and visit the SimLab Visual Scripting web page