Animation Workbench
The animation workbench in SimLab Composer offers multiple tools that facilitate animating objects and cameras in the 3D scene. They provide a way to create videos and movies as well as walkthroughs.
Object Menu
Functions in this menu assist the user in creating common object animation quickly and efficiently.
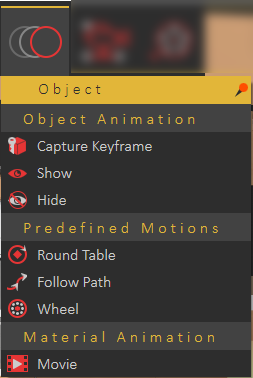
Object Animation Group
Capture Keyframe
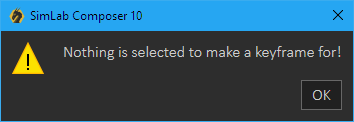
Creates a keyframe at the location in the timeline, for the selected object. If no object is selected a message will appear indicating the need to select one.
Show/Hide Object Animation
Selecting a 3D object at any frame other than zero and clicking Hide from the Object Animation group, will add a keyframe at that location and the object will be hidden there. Another keyframe will be added at frame zero, with the object shown. Using these two functions hide/show animations can be created easily.

Predefined Motions Group
Round Table
Round Table Object animation rotates the selected object by default, 360 degrees around the global z-axis. The animation starts at frame 0 and ends at the last specified frame. Selecting the green animation line of the object in the Time Line, will display the animation parameters in the Properties Panel of the application interface, as shown in the image below. The user can select to change the Start/End frames, as well as the angle of rotation.

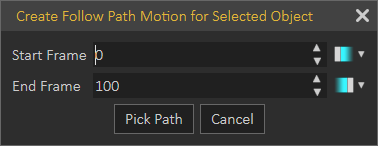
Follow Path
Path animation can be used to make an object follow a predefined path. This object can be a 3D object, a camera, or a light in the scene.
Wheel
Wheel Animation is useful for rotating object(s) around a selected axis. To create wheel animation the user needs to select the object(s) to be rotated, then click this function button. In the image shown below, one of the tires was selected. To be able to precisely select the wheel’s center, change the pick mode to Pick Center of Curvature. This will generate edges for the whole scene and will select the center of the selected curvature precisely. The wheel animation dialog will appear where the user can set the animation parameters.
Select the start frame for the animation, the end frame, and the number of revolutions. The number of revolutions is the number of full rotations to be done by the selected object(s). The user can also select the rotation direction to be Clockwise or Counter Clockwise, the direction is determined using the right-hand rule around the rotation axis, which always points out of the geometry.
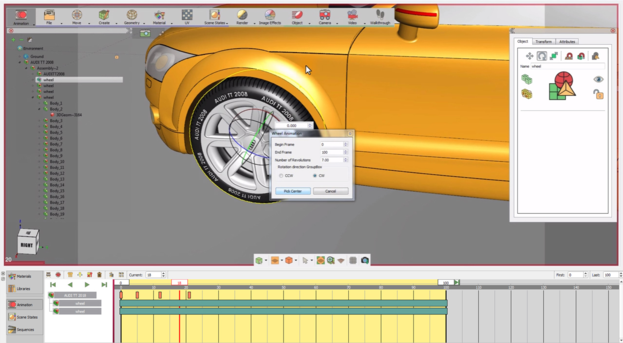
Click Pick Center, and select the circle of the tire. The normal of the circle’s center will be highlighted, click the approve icon to end the process. As can be seen in the image, an animation line for the Tier has been added to the timeline.
Selecting this green line will display wheel animation parameters, in the Properties Panel of the SimLab Composer interface. The user can change the Start and End frames for the animation, as well as the angle of rotation. In the Wheel Animation dialog shown above, the Number of Revolutions was set to 10. This will result in 10 * 360 = 3,600 angles of rotation.

Following the same steps, the user can create wheel animations for the other three tires.
Material Animation Group
Movie Textures are animated textures that are created from a video file, they can be applied to objects while being in the Animation workbench.
To add an animated texture, you have first to select an object and then click above the Movie button. The Material Animation dialog box appears (as shown in the following image) asking the user to specify a movie and to enter inputs as desired.
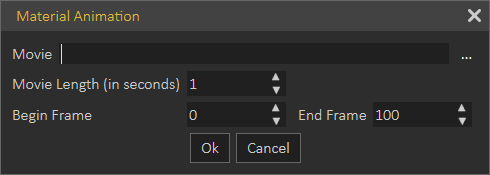
The Material Animation dialog box consists of the following fields and buttons:
- Movie: Browse and select the desired movie from your disk drive.
- Movie Length: Enter the length of the movie (in seconds).
- Begin Frame: Determine the frame where you would like to start showing the texture in the animation timeline.
- End Frame: Determine the frame where you would like to finish showing the texture in the animation timeline.
- OK: Confirm and accept settings.
- Cancel: To abort the operation.
Supported file types are MP4, avi, or flv.
Camera Menu
In this Panel, the user can create keyframes camera animations and use predefined camera animation functions.

Camera Animation Group
Capture Keyframe
Captures the current view in the 3D area with an animated camera, and creates a keyframe at the current location on the animation timeLine.
Director Record
Director camera gives the user the ability to create animations that combine views from multiple animated cameras/views in a scene. Clicking the Director Record button will create a new camera named director camera and adds it to the Object Tree. The director camera will start recording the views from the existing camera in the active view.
Predefined Motions Group
Round Table
This function creates a camera animation, for the whole scene, that rotates 360 degrees around the global Z axis. By default, this animation starts at frame 0 and ends at the last frame of the animation.
Helical
Creates an animation that rotates the camera 360 degrees around the global Z axis, with translation from the current elevation of the camera to the ground (Z = 0), suitable for showing high buildings.
Video Menu

Capture in VR Viewer
Enables users to render animation quickly in the VR Viewer, to share it with others, as rendered images and videos. Render Settings dialog will open, where the user can select the frames to include in the generated video/images. Upon clicking Start SimLab VR Viewer will open, and the rendered images will be generated and saved to the folder specified in the Output Settings under the Render menu.

If the Super Sampling option is checked, the generated images will be rendered in a bigger size in the viewer, and then compressed. This option will reduce pixelation and will give clearer images.
Movie Maker

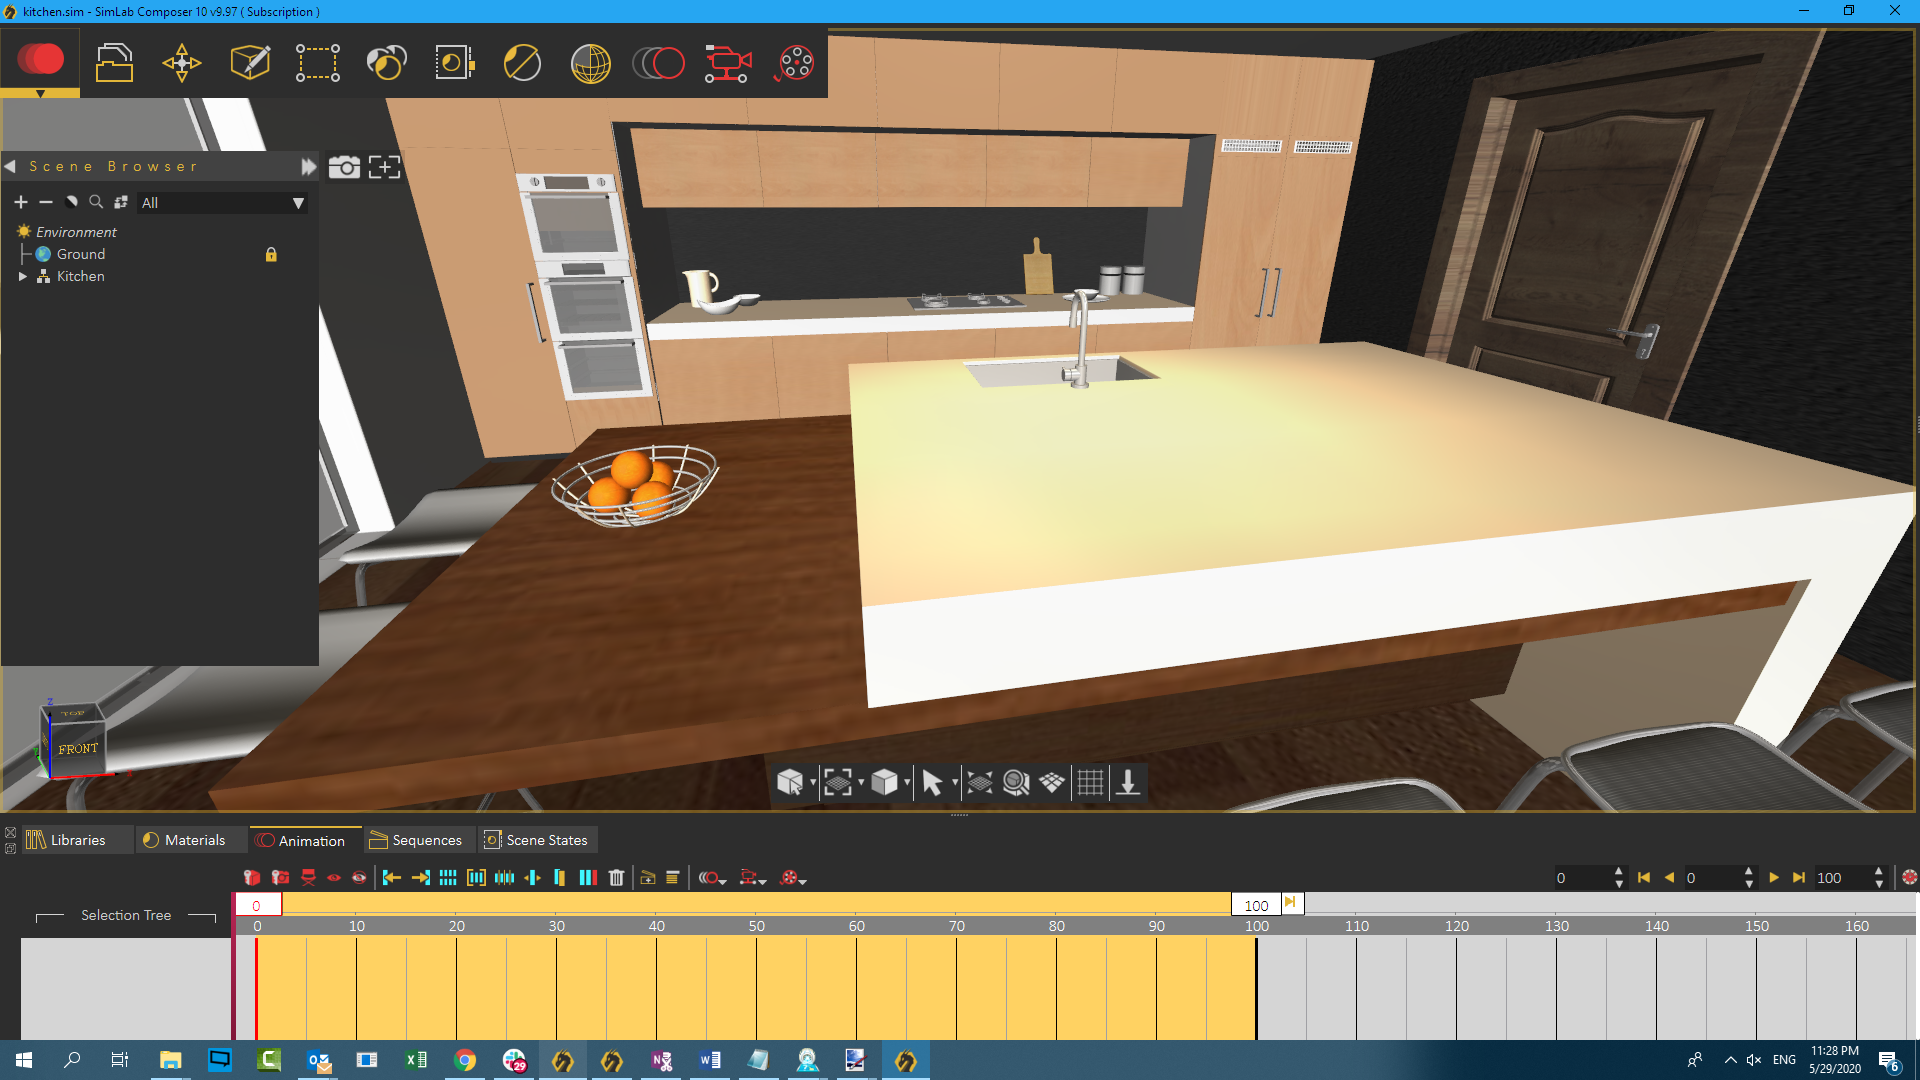
Animation Timeline
The timeline is a dynamic diagram that holds editable keys denoting any animation created in the scene. SimLab Composer can produce an image sequence of the animation and is able to convert the sequence to a video file that can be easily viewed externally.
Check this animation video tutorial
With SimLab Composer, Skeleton joints controller animations can also be created for 3D models with rigs. A rig is a digital skeleton that is used to animate 3D models imported in fbx, gltf, and usdz formats. Check this Skeleton joints tutorial
Sequence Timeline
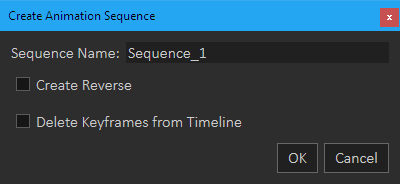
Create an Animation Sequence
Users can create interactive animation sequences that can be implemented in VR experience in Simlab Viewer. Go to the animation workbench to reveal the timeline where animation keyframes and sequences can be created and managed.
Select the animation keyframes created in the scene and click Create an Animation Sequence icon, to open the dialog shown below. Enter the name of the new sequence, the user has the option to create a reverse of the created sequence, and to delete keyframes from the timeline after the sequence creation.

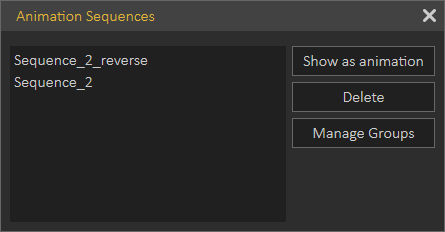
Show Animation Sequences List
The user can view the created sequences by switching to the Sequences tab in the bottom panel, or by clicking Show Animation Sequence List in the Sequence Timeline. Once clicked the dialog below will appear.
- Show as animation: If you delete the keyframe from the timeline, by clicking on this button you can return the keyframe again on the timeline.
- Delete: Erase the selected sequence from the list.
- Manage Groups: Gives the user options to create, delete and rename Sequence groups.
Capture morphing animation
SimLab Composer allows the user to control what morphing parameters to save in the keyframe. This enables mixing multiple animations, and is shown in the following video:
Video tutorials to create animation sequences for VR are below:
Animation Auto Ease Options
An auto ease option specifies the speed curve of an animation. SimLab Composer comes with various predefined motions, a motion is the type of generated animation that is used for creating predefined animations such as a round table, follow path wheel motions for the selected object, and round table and helical motions for cameras.
Regular keyframes
SimLab Composer has three types of ease that automatically adjusts the influence into and out of a keyframe to smooth out sudden changes in translation, rotation, and scale. these options are auto ease-out, out ease-in, and auto ease. With these options, users can ease the speed of an object when coming into or out of a keyframe or both, where (auto ease out) is used to ease speed coming out of a selected keyframe, (auto ease in) is used to a speed coming into a selected keyframe, and (ease) is used to a speed coming both into and out of a selected keyframe.
With animation ease options, you can easily achieve smoother and more realistic motion for geometries and cameras in your 3D scenes.

- Regular Keyframe
- Selected keyframe (appears in blue)
- Previous keyframe
- Next keyframe

- Regular keyframe
- Predefined keyframe
- Previous keyframe
- Next keyframe
- Selected Keyframe (appears in blue)
- Start frame
- End frame
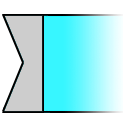
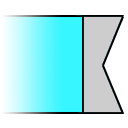
Possible Symbols for Regular Keyframes with and without Ease Effect
| Icons | Description |
|
|
No Ease
|
|
|
Ease-out
|
|
|
|
|
|
Ease
|


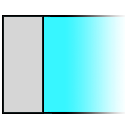
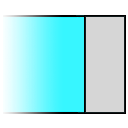
In the image above, the darker the red gradient color, the faster the object is.
The first keyframe of Box 2 has a speed of 0 with an influence of 100% on its right side. Auto Ease Out automatically adjusts the influence out of a keyframe. The object gradually accelerates as it leaves the first keyframe until it reaches the last keyframe, where it reaches its maximum speed. Keep in mind that Auto Ease Out requires an existing next keyframe in order to take effect.
The first keyframe of Box 3 has a speed of 0 with an influence of 100% on its left side. Auto Ease In automatically adjusts the influence into a keyframe. The object starts at its maximum speed and slows down as it approaches the last keyframe. Keep in mind that Auto Ease In requires an existing previous keyframe in order to take effect.
Both of first and last keyframes of Box 4 have a speed of 0 with an influence of 50% on the right side of the first frame and the left side of the last frame. This automatically adjusts the speed of change, which accelerates as animation retreats from the first keyframe until it reaches a maximum speed at frame number 10 and from there decelerates as animation advances toward the last keyframe.
The middle keyframe of Box 5 has a speed of 0 with an influence of 50% on both sides. The object slows down as it approaches the middle keyframe and gradually accelerates as it leaves. Keep in mind that Auto Ease requires existing previous and next keyframes in order to take effect on both sides of the selected keyframe.
Predefined Motions
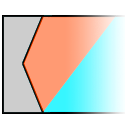
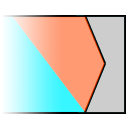
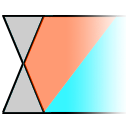
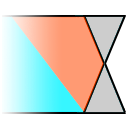
SimLab Composer comes with various predefined motions. A Motion is a type of Composer-generated animation that is used for creating predefined animations such as Round Table, Follow Path, Wheel motions for the selected object, and Round table and helical motions for cameras. In the case of predefined motions, start and end frames have a speed of 0 with a default influence of 25% on sides that falls within an animation sequence itself. The symbol of predefined motion provides a simple visual representation that indicates the relative speed at each particular frame within it.
Possible Parts of Predefined Symbols with One of Ease Effects
- The animation sequence itself.
- Start frame, which acts as a regular keyframe.
- End frame, which also acts as another regular keyframe.
Possible Symbols for Predefined Keyframes with and without Ease Effect
| Icons | Description |
|
|
No Ease
|
|
|
No Ease
|
|
|
Ease Out Acceleration
|
|
|
Ease in Deceleration
|
|
|
Ease in Deceleration
|
|
|
Ease Out Acceleration
|
|
|
Ease Deceleration then Acceleration
|
|
|
Ease Deceleration then Acceleration
|

Box 1 has a predefined motion with no ease effects. Box 2 has a predefined motion with ease-out only. Box 3 has a predefined motion with ease-in only. Box 4 has a predefined motion with ease-out and ease-in effects.
In the tutorial video below, we will show you how to use an animation auto ease types: